
What is Salesforce Inspector
- Salesforce Inspector is a tool that helps developers to view the fields, and helps to view the details of the record page directly from the UI. There is no need to go to the Object Manager or to the developer console. Hence this tool is very much useful for the developers.
- It can be added as an extension to the Google Chrome and Mozilla Firefox browsers.
Why use Salesforce Inspector?
- Salesforce Inspector helps to search all the related data about the fields, their API names, and Label, which may be not on the Page Layout.
- Using Salesforce Inspector we can make a query to fetch the related records.
- Data can also be imported into Salesforce using this Salesforce Inspector.
Downloading steps of Salesforce Inspector
- Open Google Chrome Web Browser and type the Salesforce Inspector Chrome Extension Download in the Search box.
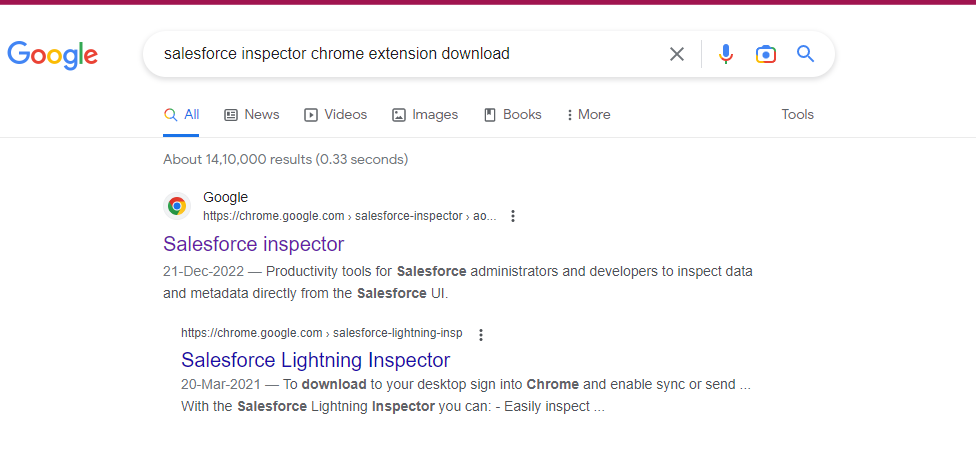
- The page will open as follows:
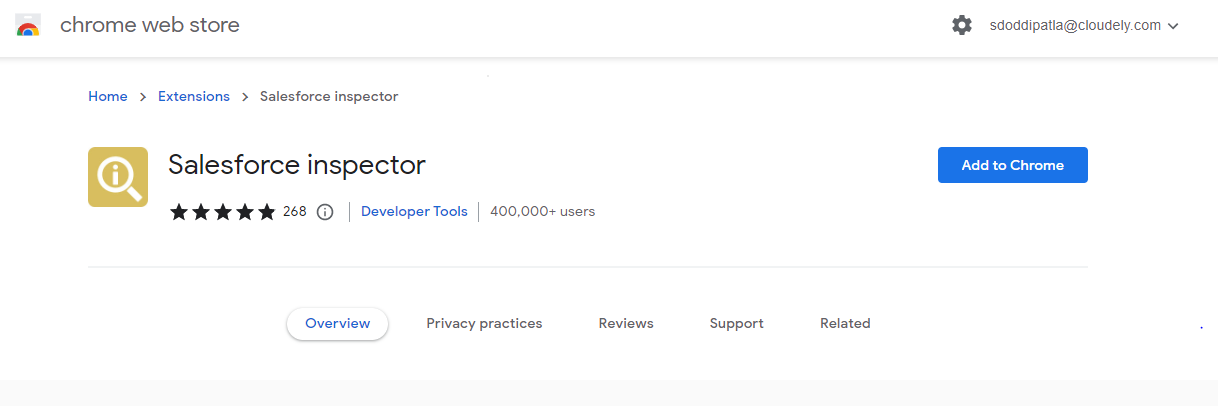
- A pop window will open and asks to add the extension as below:

- Click on Add Extension.
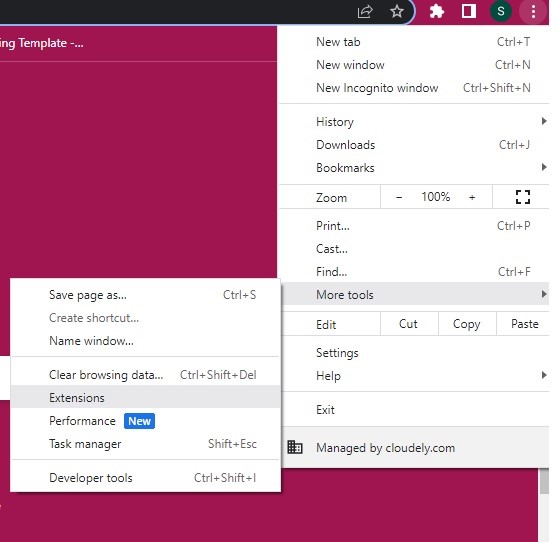
- Salesforce Extension is now added to your browser. You can check this by clicking on the Extension tab on the three dots beside the address bar.
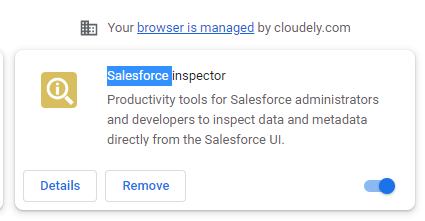
- You will find your Salesforce Inspector in your Extension tools as follows:
Usage of Salesforce Inspector
We can use Salesforce Inspector for Exporting and Importing data, we can use to find the org limits, help to view the complete set of fields and metadata, can log in with any user using this Salesforce inspector
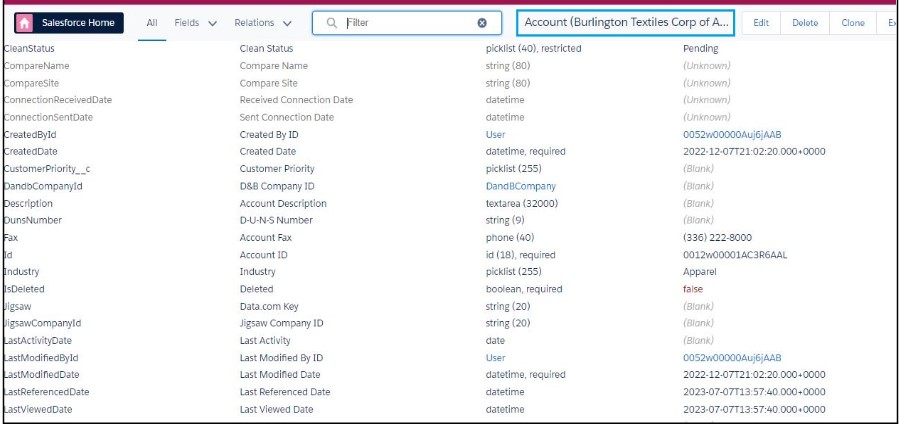
1) Show All Data
Using this option in Salesforce Inspector we can view all the related fields of that particular object. In general, when we try to open an object we are able to view the fields related to that object but by using this option in the Salesforce Inspector we can view all the fields related to that particular object. To have all the related fields for the Account object follow these steps:
- Open any record of the Account object. Click on the Salesforce Inspector Arrow which appears on the right side of your org.

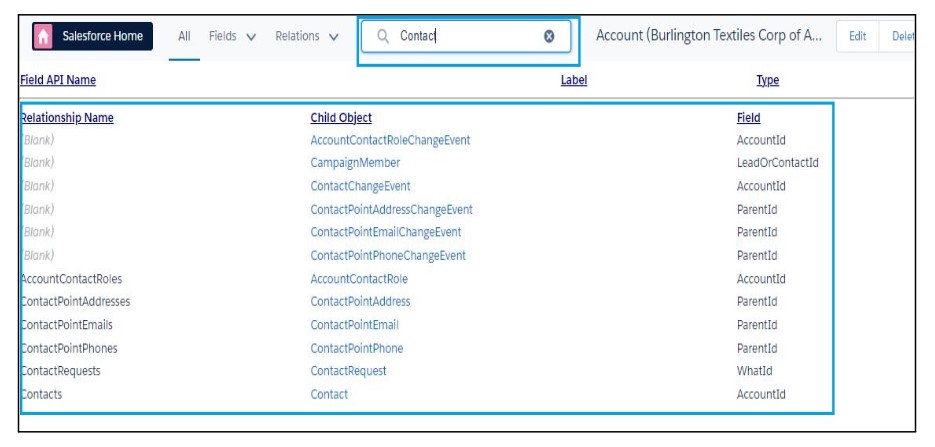
All the related fields will appear. There is a Filter option for this Show All data. You can filter the required field from the related fields.
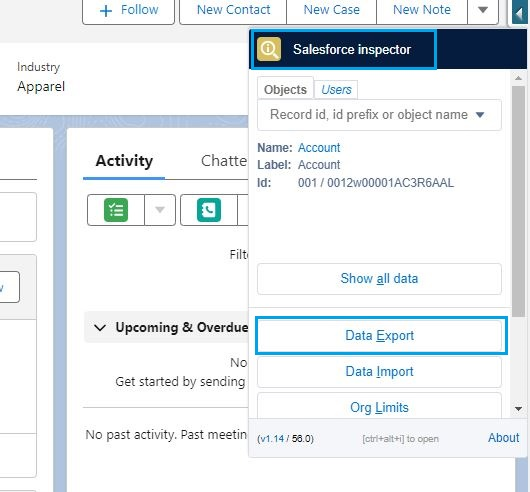
2) Data Export
We can fetch the required data from any object by querying it in Salesforce Inspector. There is no need to go to the Developer Console for querying the data. To do that
- Click on Salesforce Inspector Arrow which appears on the right side of your Org. Click on Data Export.
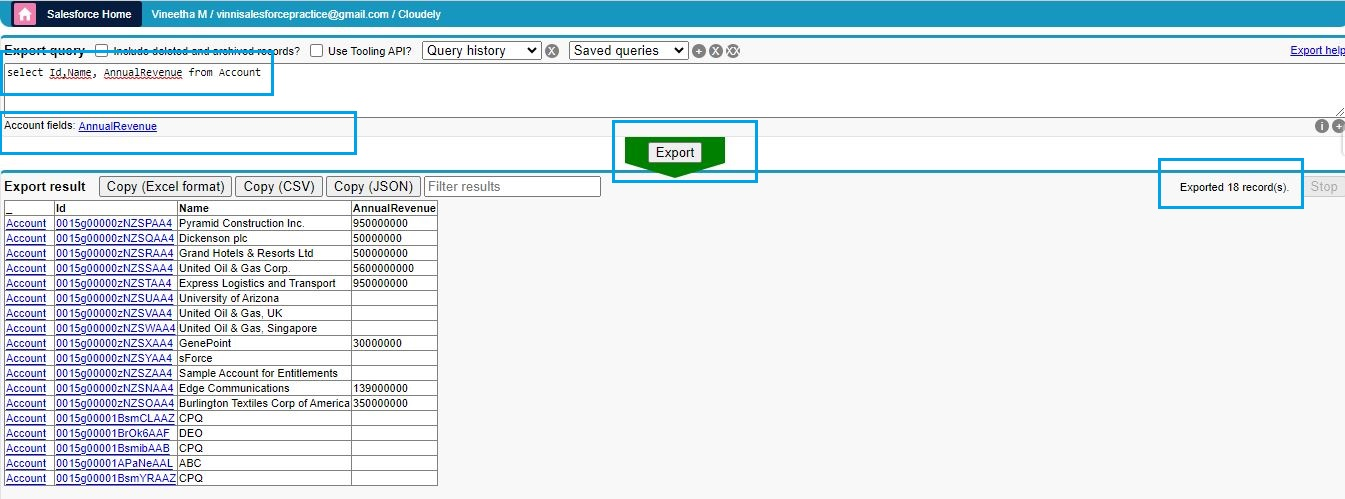
Enter your required query in the query section. When you type the first letter of an object for your SOQL query it will show all the objects which start with that letter. You can choose from that list. This helps the developers not enter the API names of the object manually. Then it will show all the related fields of that particular object. The Salesforce Inspector will execute the query and perform the required action suggested by the user.
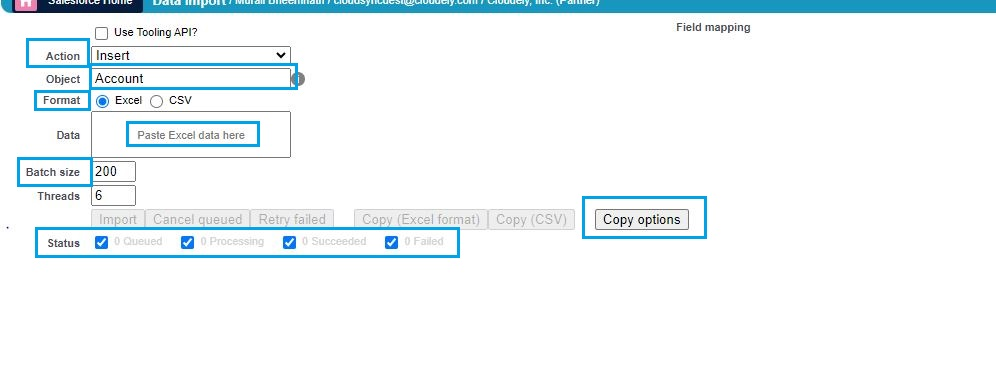
3) Data Import
We can also perform Insert, Update, Upsert, and Delete operations using this Data Import feature. We can upload any Excel or CSV extension data. First, we need to select what operation we want to perform for importing data in the Action section. Then we need to select the object. On which object do we want to perform the Action. We can also see the status of our actions.
4) Similarly we can perform the other options of Salesforce Inspector.

Found this article informative? Share this article.
Looking for expert answers to Salesforce questions? Send them to salesforce@cloudely.com. Our Salesforce experts will answer your queries. Get certified from our online Salesforce Training Programs.